When it comes to setting up a shed, foundation preparation is a crucial first step. You wouldn’t build a house without a solid foundation, right? The same applies to your shed. Whether you’re considering concrete slabs, gravel pads, or other methods, understanding the right approach can make all the difference between a sturdy shed and one that sags, shifts, or even collapses over time. In this guide, we’ll walk you through the basics, the different options available, and the steps involved to ensure your shed has a solid and long-lasting foundation.
Why Shed Foundation Preparation Is Essential
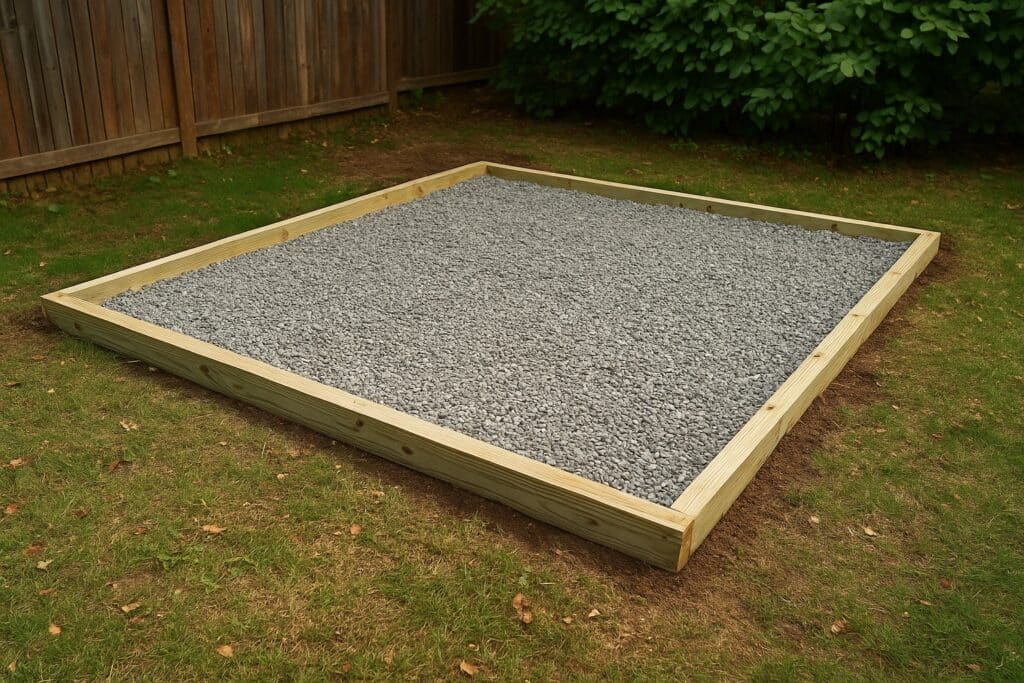
A well-built shed foundation keeps your structure level, dry, and secure. Without proper foundation preparation, your shed can settle unevenly, leading to warped floors, stuck doors, or even water damage. Preparing your shed site with the right materials and layout ensures long-term performance and reduces future maintenance.
A reliable storage shed foundation helps:
- Distribute weight evenly
- Resist moisture and rot
- Withstand wind and weather
- Prevent structural damage over time
Most Common Types of Shed Foundations
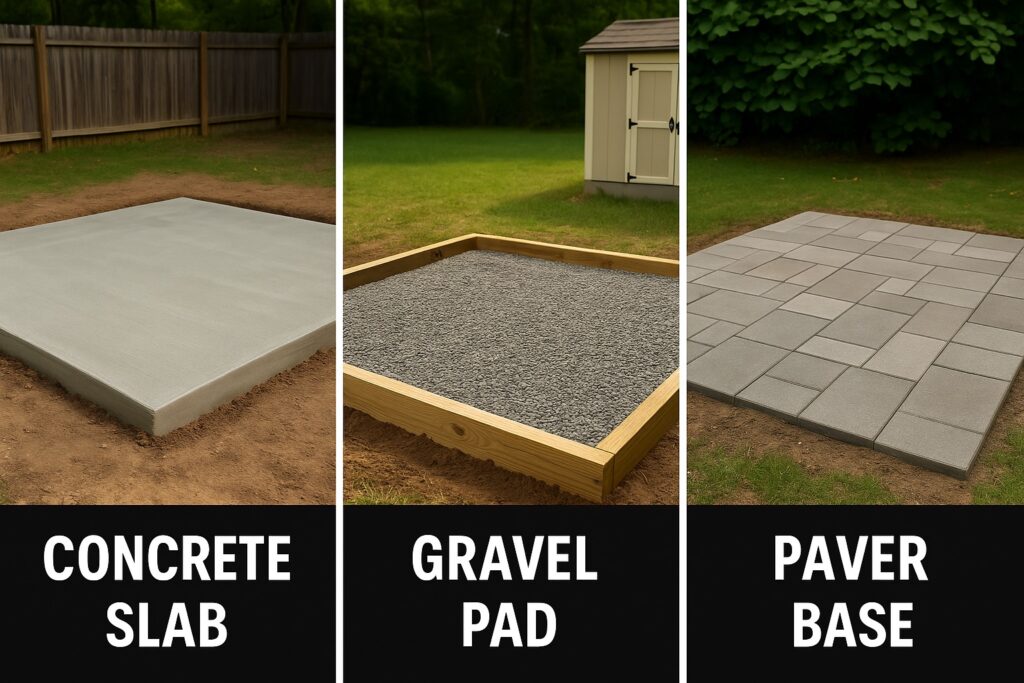
There are three main types of foundations to consider, depending on your shed size, local climate, and budget:
- Concrete slabs
- Gravel pads
- Paver foundations
Let’s explore the pros, cons, and preparation steps for each.
Concrete Slabs: Durable and Long-Lasting
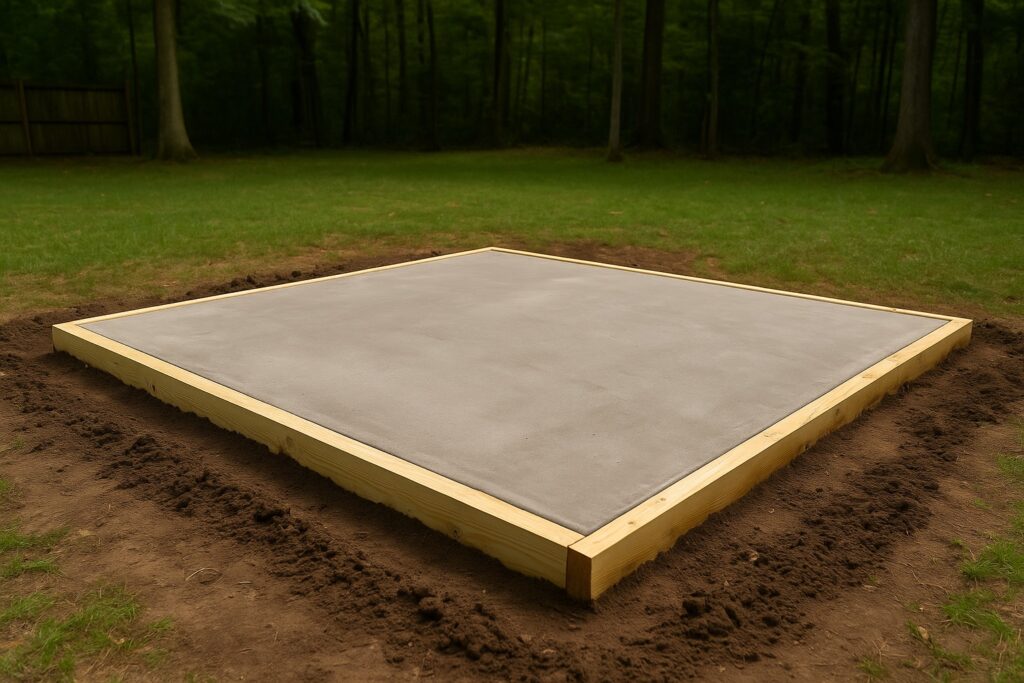
A concrete shed foundation is ideal for heavy-duty sheds, workshops, and garages. It’s strong, weather-resistant, and offers a permanent base.
Benefits:
- Excellent strength and durability
- Minimal maintenance
- Great for large sheds or equipment storage
Installation Steps:
- Mark and measure the shed site.
- Excavate 6–8 inches of soil.
- Build wooden forms to shape the slab.
- Pour and level the concrete.
- Let it cure before installing the shed.
This is the most robust shed foundation option, but it also requires the most preparation.
Gravel Pads: Affordable and Effective
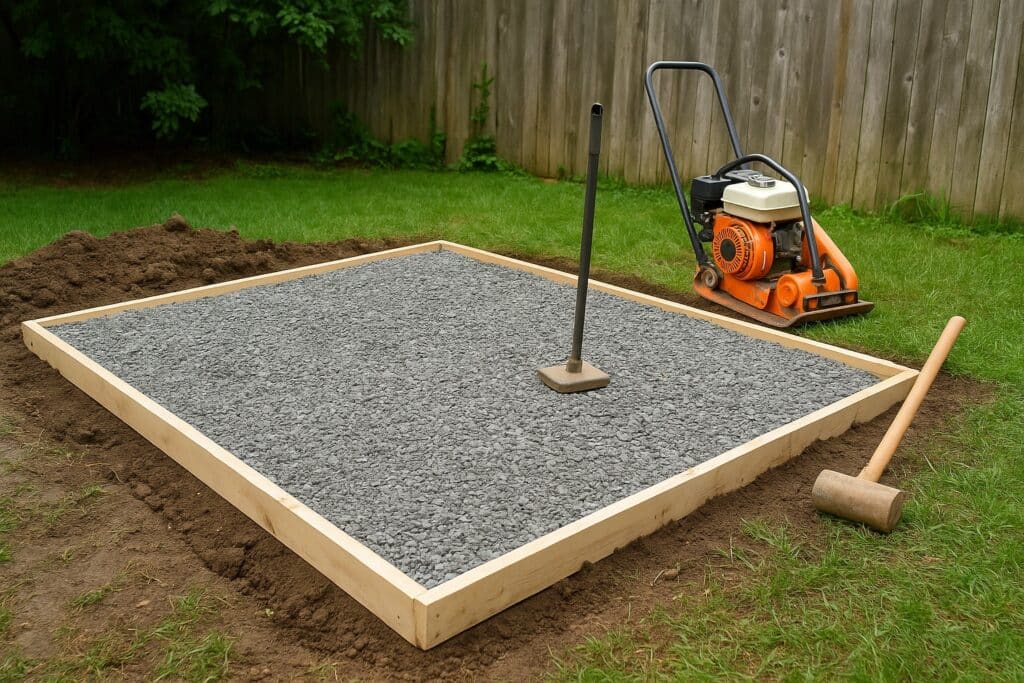
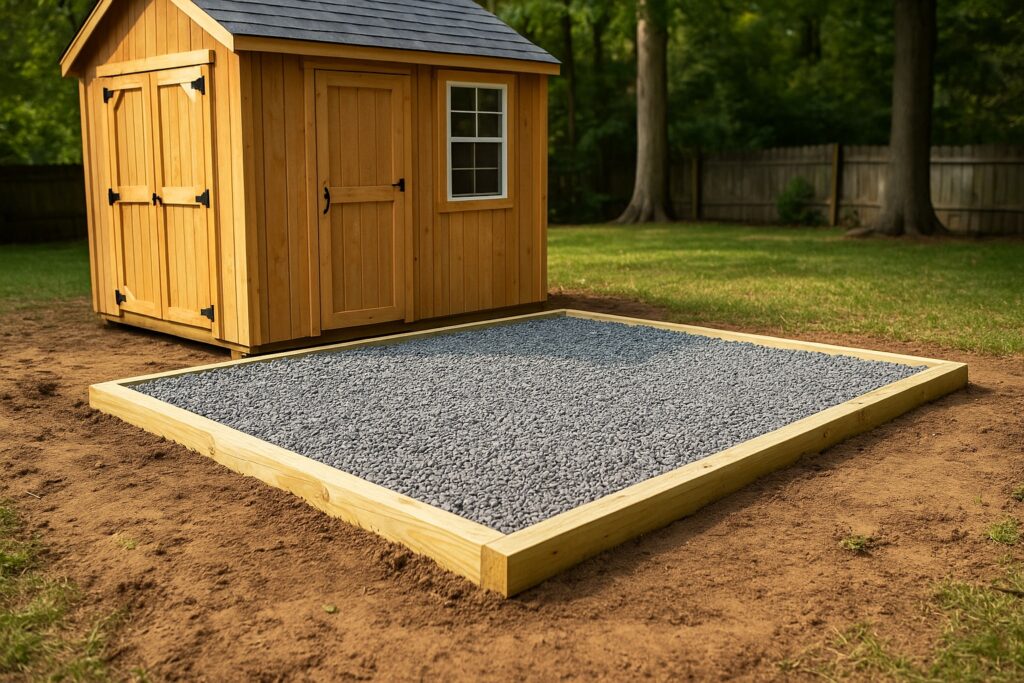
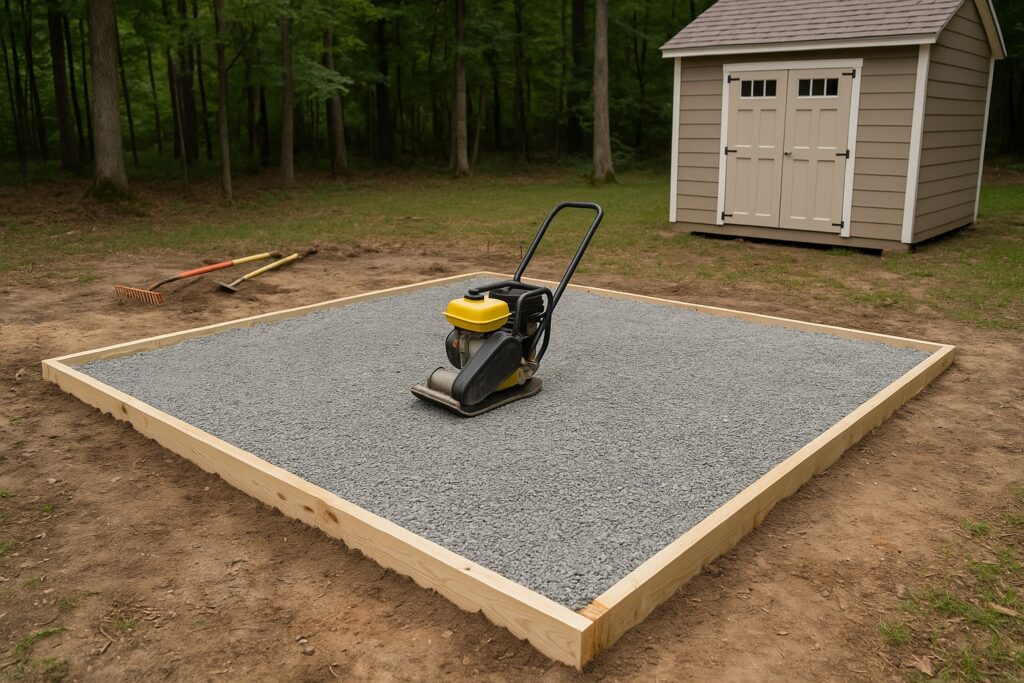
A gravel shed foundation is perfect for most backyard sheds. It offers great drainage and is easy to adjust or repair.
Benefits:
- Cost-effective for most shed sizes
- Naturally drains water to prevent rot
- Easier DIY installation than concrete
Preparation Steps:
- Clear and level the area.
- Install a weed barrier fabric.
- Add and compact 3–4 inches of gravel.
Gravel pads are especially useful for storage shed foundation builds in rainy or humid climates like Georgia.
While we don’t install gravel pads, we do offer high-quality sheds ready for placement on your prepared foundation.
Paver Foundations: Quick and Flexible
Paver foundations are a fast, DIY-friendly option for smaller sheds and garden buildings.
Benefits:
- Quick installation
- Reusable and movable
- No curing time required
Considerations:
- Not ideal for large or heavy sheds
- May require frequent re-leveling over time
Still, for small tool sheds or temporary storage, pavers are a smart solution.
General Steps for Shed Foundation Preparation
Regardless of the type you choose, proper shed foundation preparation is crucial. Follow these steps to create a reliable base:
- Select the right location – Level, dry ground is best.
- Measure the shed footprint accurately.
- Clear the area – Remove vegetation, debris, and topsoil.
- Level the ground using a rake and spirit level.
- Install your chosen foundation method.
Spending time here ensures your shed stays solid and functional for years to come.
Tools You’ll Need for Foundation Work
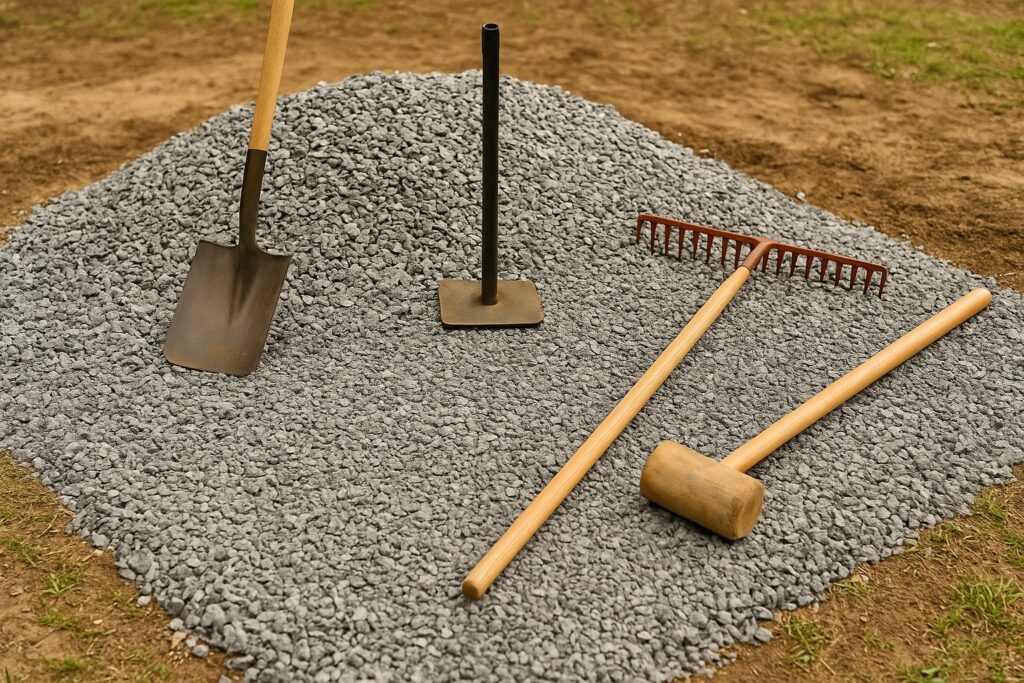
You don’t need heavy equipment, just a few basic tools:
- Shovel
- Rake
- Spirit level
- Tamper
- Measuring tape
Optional: string lines, wheelbarrow, concrete mixer (for slab installs)
Mistakes to Avoid When Building a Shed Foundation
Avoid these common pitfalls during shed foundation preparation:
- Skipping the leveling step leads to uneven settling.
- Ignoring drainage causes rot and foundation damage.
- Using too little gravel compromises support.
- Building on unstable soil can result in shifting over time.
Maintaining Your Shed Foundation
Even a great foundation needs upkeep. Keep it in top shape by:
- Sealing cracks in concrete as needed
- Re-leveling and replenishing gravel
- Checking drainage after storms
A strong storage shed foundation lasts longer with periodic attention. Not sure which shed size or type fits your foundation plan? Contact our team. We’re here to help!
Choosing the Best Foundation for Your Shed
Here’s a quick guide based on your needs:
| Foundation Type | Best For | Budget |
| Concrete Slab | Large, permanent sheds | $$$ |
| Gravel Pad | Most backyard sheds | $$ |
| Pavers | Small, moveable sheds | $ |
Still unsure? A local shed expert can help you evaluate your site and recommend the best foundation for your shed size and soil conditions.
Climate Considerations for Foundation Types
If you’re building a shed in humid or rainy regions like Georgia, gravel pads offer better drainage. In hotter climates with hard-packed soil, a concrete slab may provide more stability over time.
FAQs on Shed Foundations
Most small to medium sheds do just fine with a 4-inch concrete slab. If you’re building a larger shed or plan to store heavier equipment, go with 6 inches for extra support.
A 4–6 inch base of compacted gravel usually works well. If your yard has poor drainage or soft soil, going deeper (up to 8 inches) can help prevent settling and moisture problems.
Gravel pads are generally the most cost-effective option, offering good drainage and support without breaking the bank.
Concrete typically takes 24-48 hours to set, but full curing can take up to 28 days. It’s best to wait at least a week before building on it.
Not always, but most do. Lightweight plastic or small storage sheds might work without one, but a solid foundation helps prevent moisture problems, sinking, and uneven floors. For anything larger or long-term, a gravel pad or concrete base is definitely worth it.
Conclusion
Foundation preparation is a vital part of building a shed that will last. Whether you opt for concrete slabs, gravel pads, or another method, taking the time to prepare the ground properly ensures your shed remains stable and secure. Remember, the foundation is like the roots of a tree, strong roots keep everything standing tall. Choose wisely, build carefully, and your shed will stand strong for years to come.

